Introduction
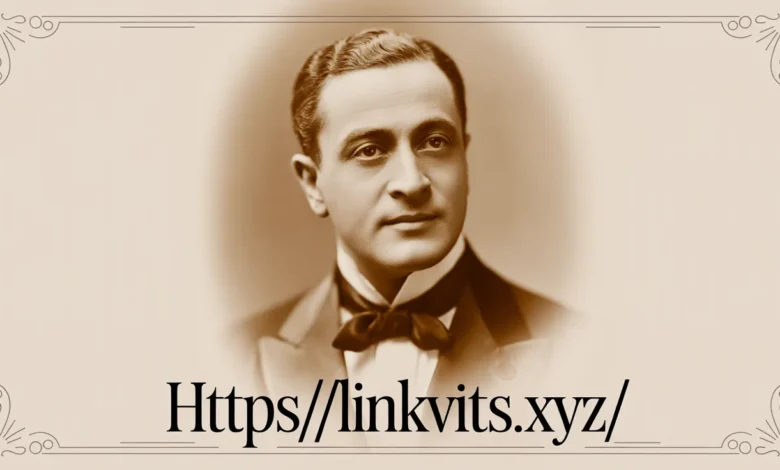
Some voices stop you in your tracks. Alessandro Moreschi had one of those voices — and the world has never quite heard anything like it since.
He was the last of the castrati, a singer whose voice was preserved through one of the most controversial surgical practices in musical history. His recordings, made in 1902 and 1904, remain the only direct audio evidence of what a castrato actually sounded like. That alone makes him one of the most historically significant musicians who ever lived.
In this article, you will learn who Alessandro Moreschi was, how castrati were created, what his recordings reveal about his voice, and why music lovers and historians still talk about him more than a century after his death. Whether you are a classical music enthusiast or just stumbled onto this fascinating corner of history, you are in for something remarkable.
Who Was Alessandro Moreschi?
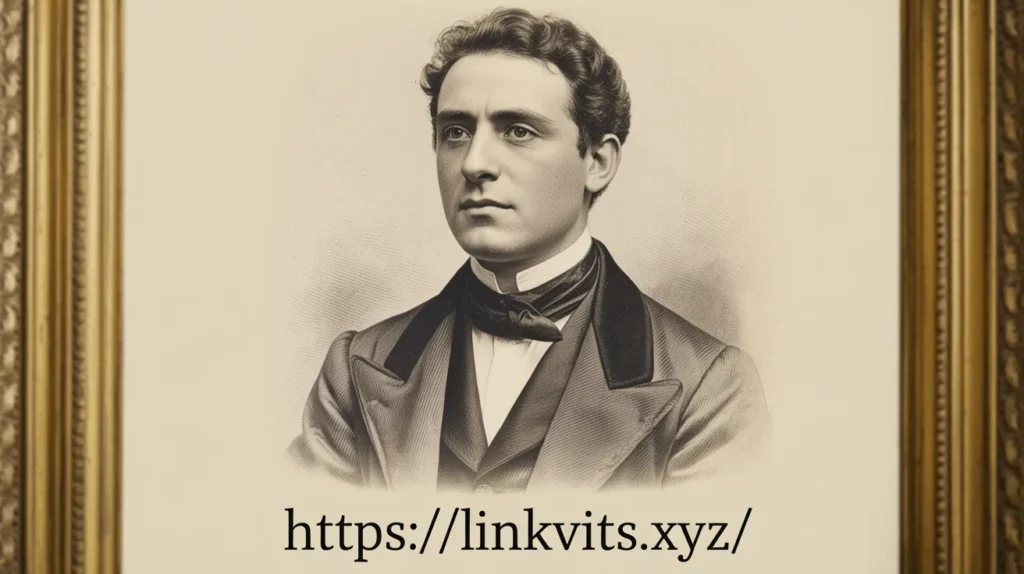
Alessandro Moreschi was born on November 11, 1858, in Montecompatri, a small town near Rome, Italy. He showed extraordinary vocal talent from a young age, which led his family to make a life-altering decision — one that was still fairly common in 19th-century Italy.
He was castrated before puberty to preserve his high-pitched singing voice.
This practice, though brutal by modern standards, was once widespread in Catholic Church music. The Church prohibited women from singing in liturgical settings, so boys with exceptional voices were sometimes castrated to maintain their soprano or alto range well into adulthood. The result was a voice that combined the lung capacity of an adult male with the high registers of a child.
Moreschi went on to study at the Scuola di San Salvatore in Lauro in Rome. He trained under the guidance of skilled vocal teachers, and his talent was immediately apparent. By 1883, he had joined the Sistine Chapel Choir, the most prestigious choral institution in the Catholic Church. He eventually became its principal soloist.
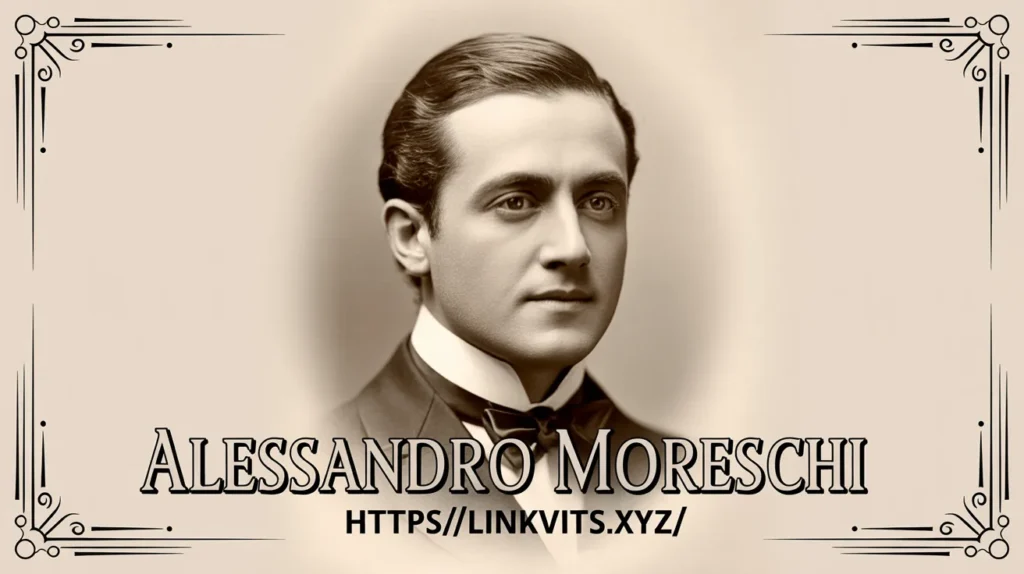
He was so celebrated that people called him “Angelo di Roma” — the Angel of Rome.
The Practice of Castration in Music: A Dark Chapter
To understand Alessandro Moreschi, you have to understand the world he came from.
The practice of creating castrati began in the 16th century and peaked in the 17th and 18th centuries. During this era, castrati were the rock stars of opera and sacred music. Audiences adored them. Composers like Handel wrote entire operas specifically for their unique voices.
At the height of the castrato era, an estimated 4,000 boys were castrated every year in Italy for musical purposes. Most of them never achieved fame. Many ended up forgotten in small church choirs. Only a rare few, like Farinelli and Caffarelli, became international superstars.
By the 19th century, the practice was in rapid decline. Changing social attitudes, new operatic styles, and growing ethical concerns all contributed. Napoleon’s influence across Europe helped accelerate its end. Pope Leo XIII officially banned the creation of new castrati in 1878.
Moreschi, born in 1858, was therefore one of the last boys to undergo the procedure. By the time he rose to fame, the castrato was already becoming a relic of the past. That made him both extraordinary and tragic.
Alessandro Moreschi’s Voice: What Made It Unique?
People often ask what a castrato’s voice actually sounded like. The answer is complicated.
A castrato’s voice was not simply a man singing falsetto. It was something entirely different. The larynx remained small, like a child’s, which produced higher frequencies. But the lungs, chest cavity, and overall physique of an adult male created a volume and power that no boy soprano could match.
The result was described by contemporaries as ethereal, otherworldly, and deeply moving. Some listeners wept. Others said it felt almost supernatural.
Alessandro Moreschi’s voice, by the time he recorded, was well past its prime. He was in his mid-40s during the 1902 recordings, and reviews from earlier in his career suggest his voice had been far more impressive in his younger years. Yet even in these recordings, made with primitive technology, something remarkable comes through.
His tone is unusual to modern ears. It sounds unlike anything in contemporary music. There is a rawness and an emotional directness in how he sings that feels almost uncomfortable at times. He does not hold back. You can hear the breath, the vibrato, the ornaments — all the hallmarks of a vocal tradition that has since completely disappeared.
The 1902 and 1904 Recordings: A Miracle of History
In April 1902, a recording engineer named Fred Gaisberg traveled to Rome on behalf of the Gramophone and Typewriter Company. His mission was to capture the voices of notable Italian singers on disc.
Alessandro Moreschi agreed to record. What happened next gave the world a priceless historical document.
Over two sessions — one in 1902 and another in 1904 — Moreschi recorded approximately 17 tracks. The recordings include sacred pieces like “Ave Maria” (both the Gounod and Schubert versions), “Hostias” from Mozart’s Requiem, and several other devotional works.
These recordings are far from perfect. The technology of the time was extremely limited. The audio quality is scratchy and distant by modern standards. Moreschi was also not a trained recording artist — he sang as if performing in a large cathedral, not into a small acoustic horn.
Yet despite all these limitations, the recordings have survived. They have been remastered and re-released multiple times. You can listen to them today on platforms like YouTube and Spotify.
Listening to them is a genuinely strange experience. You are hearing a vocal tradition that no longer exists, performed by the last person on Earth who could perform it. That is not something you encounter very often in music history.
Life at the Sistine Chapel
Moreschi spent the bulk of his adult life in service to the Sistine Chapel Choir. He joined in 1883 and remained an active member for decades.
His role there was central. He served as the choir’s principal soprano soloist, which meant he led the ensemble in its most important liturgical performances. The Sistine Chapel Choir sang for popes, cardinals, and the most significant Catholic ceremonies in the world.
During his tenure, Moreschi sang under multiple popes. He participated in some of the most historically significant papal ceremonies of the late 19th and early 20th centuries. His voice was considered essential to the sound of the choir during its most prominent years.
He retired from the Sistine Chapel Choir in 1913. By that point, Pope Pius X had already begun reforms of Catholic Church music, moving toward a preference for boys’ choirs and adult male voices trained in the Gregorian chant tradition. The era of the castrati in sacred music was officially over.
What Happened to Alessandro Moreschi After Retirement?
After his retirement in 1913, Moreschi largely faded from public life. He continued to live in Rome, where he had spent most of his adult years.
He died on April 21, 1922, at the age of 63. His death was not a major public event. By then, the world had moved on. Opera had changed. Musical tastes had shifted dramatically. The voice type he represented had been gone for decades.
He was buried in Rome. His grave was modest, much like the quiet final chapter of his life.
In death, however, his legacy has grown considerably. The recordings he made remain endlessly fascinating to musicologists, vocal historians, and curious listeners from all over the world. Books have been written about him. Documentaries have featured his story. His recordings have been included in surveys of the most historically significant audio in existence.
Why Alessandro Moreschi Still Matters Today
You might wonder why a singer who died in 1922, whose recordings are scratchy and aged, still captures attention in the 21st century.
The answer is simple: he is irreplaceable.
There is no other recording of a castrato voice in existence. No other audio document captures this vocal tradition in any form. Moreschi’s recordings are therefore not just interesting music history — they are the only window we have into a sound that shaped European music for nearly three centuries.
Think about how many pieces of music were written specifically for castrati. Think about Handel’s operas, Bach’s sacred music, Mozart’s early works. All of these were created with this voice type in mind. For centuries, we had no idea what that actually sounded like. Now, imperfectly but genuinely, we do.
There is also something deeply human about his story. He did not choose the path that was laid out for him. He was a child when the most consequential decision of his life was made for him. He turned that into a career of extraordinary artistry. That is a story worth knowing.

How to Listen to Alessandro Moreschi’s Recordings
If you want to experience his recordings yourself, here is how to start:
- Start with “Ave Maria” (Gounod version). It is the most accessible of his recordings and gives you a clear sense of his tone and style.
- Listen with headphones. The audio quality is poor by modern standards, but headphones help you focus on the voice beneath the surface noise.
- Read about the context first. Understanding what you are hearing — the history, the vocal technique, the era — makes the experience far richer.
- Try the remastered versions. Several audio engineers have produced cleaned-up versions of the recordings that make the voice more intelligible. These are widely available online.
- Compare with countertenors. Modern countertenors like Andreas Scholl or Philippe Jaroussky sing in high male registers. Comparing their voices with Moreschi’s helps you understand what made the castrato voice structurally different.
Approach his recordings with patience and curiosity. They reward careful listening.
Common Misconceptions About Alessandro Moreschi
A few myths and misunderstandings surround his story. Let’s clear them up.
Misconception 1: His recordings capture the greatest castrato voice in history. Not quite. Moreschi was a celebrated singer, but he was not considered the most exceptional castrato of his time, let alone of all time. Figures like Farinelli, who died in 1782, were described in terms that suggest voices of staggering power and range. Moreschi’s recordings capture a competent and historically important voice, not necessarily the pinnacle of the tradition.
Misconception 2: He sang in opera. Moreschi spent his entire career in sacred music. He was a church singer, not an opera performer. By the time he reached prominence, castrati had largely disappeared from the opera stage.
Misconception 3: He was ashamed of what he was. Historical accounts suggest Moreschi was proud of his voice and his position at the Sistine Chapel. He was admired and respected in his professional world. The shame and ethical horror we rightly feel today were not necessarily the dominant feelings of his own era.
Alessandro Moreschi and the Ethics of the Castrato Tradition
It would be wrong to discuss his life without addressing the ethical reality of how castrati were created.
The castration of boys for musical purposes was a form of irreversible bodily harm inflicted on children who had no ability to consent. Many families made this decision under economic pressure, hoping their son’s voice would bring them wealth and status. Most of those boys never became famous. They simply lost a part of themselves permanently.
Today, we recognize this as a serious violation of human rights. The fact that it was once normalized does not make it acceptable. Understanding the history honestly means holding both truths at once — the extraordinary artistry that resulted, and the profound ethical wrong that made it possible.
Alessandro Moreschi himself lived with the consequences of a decision made for him as a child. His story is a reminder that great art can emerge from circumstances we would now find indefensible.
Conclusion
Alessandro Moreschi was more than a historical curiosity. He was a gifted artist who represented the end of a 300-year vocal tradition. His recordings, imperfect as they are, give us something genuinely irreplaceable — a direct sonic connection to a world of music that no longer exists.
His voice was called the Angel of Rome for good reason. Even through decades of technological limitations and historical distance, something in those recordings still reaches you.
If you have never heard him sing, take 10 minutes today and listen. You may not love every moment of it, but you will never forget it.
Do you find the story of the castrati fascinating, or does it unsettle you? Share your thoughts — stories like this deserve to be part of the conversation we have about music, history, and the cost of art.
Frequently Asked Questions
Q1: Who was Alessandro Moreschi? Alessandro Moreschi was an Italian singer who lived from 1858 to 1922. He was the last castrato and is famous for being the only castrato in history to have made audio recordings.
Q2: What does “castrato” mean? A castrato was a male singer who was castrated before puberty to preserve his high singing voice. The practice was common in European sacred and operatic music from the 16th to the early 20th century.
Q3: Where can I listen to Alessandro Moreschi’s recordings? His recordings are available on YouTube, Spotify, and several classical music streaming platforms. They have also been released on CD, with remastered versions offering better audio clarity.
Q4: Why was Moreschi called “the Angel of Rome”? This nickname was given to him by admirers who were moved by the beauty and otherworldly quality of his voice. He was the principal soprano soloist of the Sistine Chapel Choir during the height of his career.
Q5: How many recordings did Alessandro Moreschi make? He made approximately 17 recordings across two sessions, one in 1902 and another in 1904, for the Gramophone and Typewriter Company.
Q6: Was Alessandro Moreschi the greatest castrato in history? Not necessarily. While he was celebrated in his time, historians believe that earlier castrati like Farinelli possessed voices of even greater power and range. Moreschi is significant primarily because he is the only one whose voice was ever recorded.
Q7: Did castrati sing in opera? Yes, but mostly in earlier centuries. By Moreschi’s time, castrati had largely left the opera stage. He spent his career exclusively in sacred choral music at the Sistine Chapel.
Q8: When did the castrato tradition end? The creation of new castrati was banned by Pope Leo XIII in 1878. The last known castrato to perform professionally was Alessandro Moreschi, who retired in 1913.
Q9: How old was Alessandro Moreschi when he made his recordings? He was approximately 43 to 45 years old during his recording sessions in 1902 and 1904. His voice was considered to be past its peak by this point.
Q10: Why are Moreschi’s recordings historically important? They are the only surviving audio recordings of a castrato voice. This makes them an irreplaceable document of a vocal tradition that shaped European music for nearly 300 years
About the Author
Marco Lindvall is a classical music writer and cultural historian with over a decade of experience covering European music history, vocal traditions, and the intersection of art and society. He has written for several international music publications and holds a postgraduate degree in Musicology. When he is not writing about forgotten voices from history, he is probably arguing about the best recording of a Schubert sonata.Share